Archive

FCP X plugin

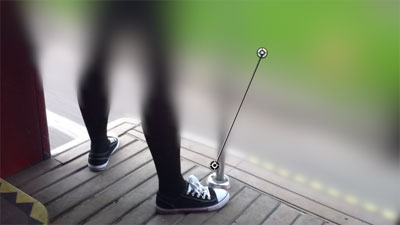
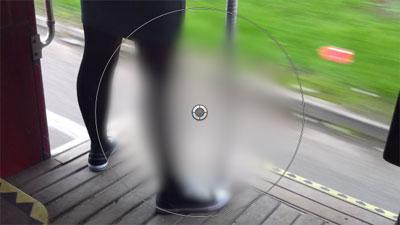
This Final Cut Pro X effect adds shadows to clips with transparent areas (or clips scaled down using Alex4D Curve Scale). It has an on-screen control that sets position and blurriness:

Drag the centre of the control to choose the position of the shadow, drag the outer circle to increase or decrease the softness of the shadow.

It also has the option to create ‘internal’ shadows:

You can also scale the shadow to create subtle perspective effects.

Read More

Following on from yesterday’s post on why some titles are now less flexible to use in version 10.0.3, here’s a ZIP archive of a version of ‘Four Corners’ that allows you do move the Title and Subtitle to different locations in the title inspector.

Download this ZIP archive, and install the folder in Movies / Motion Templates / Titles /

A couple of changes in Final Cut Pro 10.0.3 seem to be in response to user problems. Instead of having a transition media preference, FCP X makes sure storyline length isn’t changed when a transition is applied – warning if there isn’t enough media in the clip to apply the clip.

The new keyframing method is that if you have set a keyframe for a parameter at a given time and you go on to change the value of that parameter at a different time, FCP adds a keyframe. Before 10.0.3 FCP would apply the change in parameter to all the keyframes of that parameter at the same time.

Unfortunately this causes problems for some title generators – including the ones supplied with Final Cut.

To use ‘Overlap’ as an example, you might want to reposition the position of the two text elements:

You can do this by dragging the origin controls for each text element:

This worked perfectly well in versions up to 10.0.3, but the new keyframing method causes a problem – if you play the title after repositioning the text elements, they move from where they originally were to your new position and back again. It turns out that moving title text elements adds keyframes to their position parameters. In 10.0-10.0.2 moving title text elements would reposition all the keyframes at the same time.

That means some title generators that have text elements that people are likely to want to move need to be remade so that they animate using Motion behaviours instead of keyframes.

In the case of ‘Overlap’ I’ve modified the built-in Motion template so moving the text elements shouldn’t be a problem. If you use the Build In and Build Out options, the text will start in the same places and finish in the same places, but you can choose where text stays while the title is being shown.

Read More

These seven blur and sharpen effects have been available to Motion 5 users for a while, you can now download versions that work in Final Cut Pro.

Gradient Blur

This effect applies a blur gradually between two points:

Circle Blur

This effect applies a blur inside a circle. Use the on-screen controls to define the position and size of the circle:

Five more effects after the jump… Read More

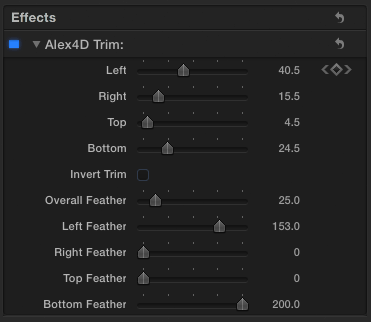
These six Final Cut Pro X effects give you more control over the way transform and trim effects work.

You can choose how values change between keyframes – effect the shape of the value curves for x position, y position, rotation, scale and edge trim amount:

In the scale and rotation effects you can also set the centre point around which the clip is scaled and rotated:

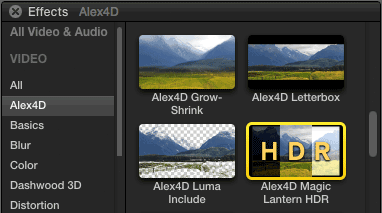
Magic Lantern is a system for adding features to Canon DSLRs, Unified is a recent ML package enables some cameras to shoot footage that can processed to produce content with a larger exposure range – i.e. High Dynamic Range.

The files produced are made up of alternate frames of under- and over-exposed footage. My new generators take these frames and give you the control to define how the overexposed frames are overlayed on top of the underexposed frames.

For more information on Unified and Magic Lantern and the software to for your Canon DSLR, visit the Wiki

December 2012:  I’ve replaced the generators that were here with a single effect.

in-titles-browser

Go to my newer blog post on the new version.


This transition first shows a few frames of the incoming clip, then some of the outgoing clip, then the incoming clip and continues in varying patterns.

It re-creates the ‘cuts only’ scene transitions used in the early 70s in films such as ‘Easy Rider.’ By showing a few frames of the next scene a little while before it starts, the clip acts as a ‘premonition’ of what will happen next. It was also used with a musical cue in ‘Captain Scarlet’ – a kids TV series.

As well as using the incoming clip, there is also the option to use a frame from elsewhere in your primary storyline instead. You choose it by dragging a ‘Timeline Pin’ which appears when you select the transition:

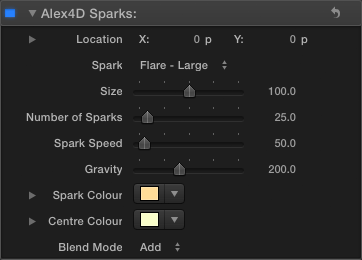
Here are the controls:

Read More