Final Cut Pro X tip: Clip timecode
Although Final Cut Pro X has had many updates over the last year, editors still need workarounds to get the same features as they were accustomed to in alternative editing applications, including Final Cut Pro 7.
Sadly the 10.0.5 update changed the way the Timecode generator worked in Motion and Final Cut Pro X. This generator was used to create effects that could show timecode on a clip.
This can be useful when collaborating with other people. Knowing the timecode of specific times in footage can be useful to producers, researchers, transcribers and translators.
Since version 10.0.5, any effects applied to a clip don’t get any timecode information a clip has. This means any effects created in Motion, such as the timecode generator, don’t get that information, so cannot display it.
Until an update fixes this problem, here’s a workaround.
Timecode on clips
To display the timecode of a source clip:
1. Select the clip and open its timeline. Use the Open in Timeline from the Clip menu or control- or right-click the clip and select the command from the pop-up menu:
2. Add the Timecode generator to the clip timeline:
As the clip timeline starts with the same timecode as the clip, the timecode generator displays the correct timecode.
3. You can increase the size of the timecode text and add a prefix to show useful information associated with the clip, as well as changing the background colour behind the timecode – including the opacity:
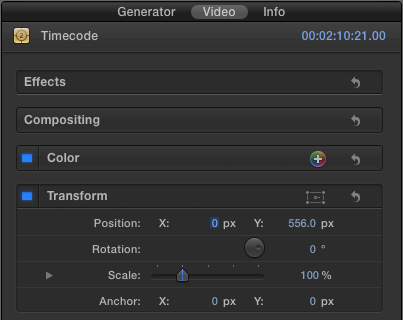
You can also use the transform controls to move the generator as a whole:
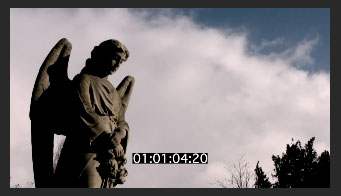
The resultant clip looks like this:
If you want to export the clip with this added information, use the Export Media… command from the Share menu.
Project clip timecode
There is a catch in using these ‘timecoded’ clips in a project: the generator kept in the clip timeline displays the timecode of the project, not the clip it is placed on. The next part of the workaround creates a clip that displays the correct timecode when used in a project.
[December 2013 edit – This old method uses single angle multicam clips – now superseded by the new way compound clips work]
4. Select the timecoded clip you want to use and create a new multicam clip. Choose New Multicam Clip… from the File menu, or control- or right-click the clip and select the command from the pop-up menu:
5. You are going to create a single angle multicam clip containing your timecoded clip. The automatic setting should be fine. These custom settings show that the multicam clip is created using a timeline that starts with the same timecode as the clip you are basing the multicam clip on:
Removing timecode
When you use this new multicam clip on your timeline, you’ll see the correct timecode displayed. Using this kind of clip has an advantage when you want to remove the timecode from every instance of the clip in your project.
1. Open an instance of the clip in the multiclip angle editor. Use Open in Angle Editor from the Clip menu, or control- or right-click the clip and select the command from the pop-up menu:
2. Open the only clip in the angle in its timeline using Open in Timeline from the Clip menu or control- or right-click the clip and select the command from the pop-up menu:
3. Delete or disable the generator. Once you go back to your project timeline, no instance of the multicam clip will show timecode.


