Final Cut tip: The flash frame transition you already have
In which I show how to use the Final Cut ‘Dip to Color Dissolve’ transition effect to produce a camera flash between shots.
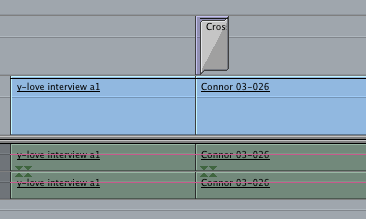
My friend Matt asked if I could create a flash frame transition plugin. Sometimes he likes to start a new shot with a flash of white that fades away very quickly as if a camera flash went off. He currently adds a six frame white colour matte on a higher channel and adds a dissolve transition:

It turns out that you can modify the settings of a built-in transition to make a flash frame transition.
1. Add a standard ‘Dip to Color Dissolve’ transition:

These are the standard settings:

2. Change the sliders and colour so the transition controls look like this:

Threshold sets the point of the transition where the colour fills the screen. The default of 50 makes it appear at the midpoint of the transition. If set to 0, the transition will start with the colour you choose.
Soft defines the amount of time the colour fills the screen. The default of 100 makes the colour appear for a single frame – setting it to 0 will make the colour appear for the full duration of the transition. With a short transition duration, a value of 80 will make the white flash stay for two frames before fading away.
3. Change the duration and transition alignment as follows:

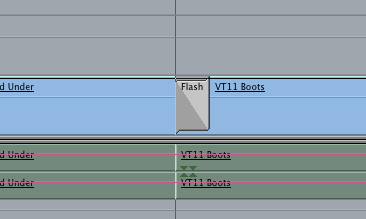
Your timeline should now look like this:

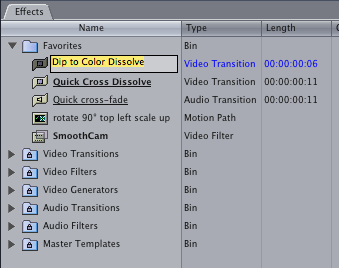
4. If you want to use this transition elsewhere in your project and in other projects, drag the modified transition from the timeline to the Favorites folder in the Effects tab of the project window. You can then rename it if you like:


5. When you apply this transition, drag on top of the front of the clip you want to add the flash to:


Thanks! Love finding new uses for stuff that’s already there.
Thank you soo much, this helped greatly 😀
I assume you are referring to the same Matt I know.
Thanks for this excellent tip, it really makes a big difference.
thx a lot. saved loads of time 🙂
thanks for this great tip!
Obrigado, pela dica!!
Good day Alex,
some wonderful things here and I have used some of them with great pleasure, such as you Move plugin so I could add logos to an endscroll.
This flash idea is fine, but I have some scaled footage and I cannot scale down the crossover, hence I resorted to the Matte version which works just fine.
Cheers from Hilversum, Netherlands
🙂
Paul Delcour
PS love London and hope to visit it again soon
Thanks, flash effect is something I missed from Sony Vegas. I really like the snappy user interface in Final Cut.
Cheers mate…that was useful…!!!!